Utilizing Procreate for someone with a desktop-based design program background is not without a slight learning curve. The functions that are generally identically across different design applications (like selecting several layers at once are entirely different in mobile environments. In this guide, we’ll help you unravel one of the questions by explaining the process of selecting multiple layers simultaneously in Procreate.
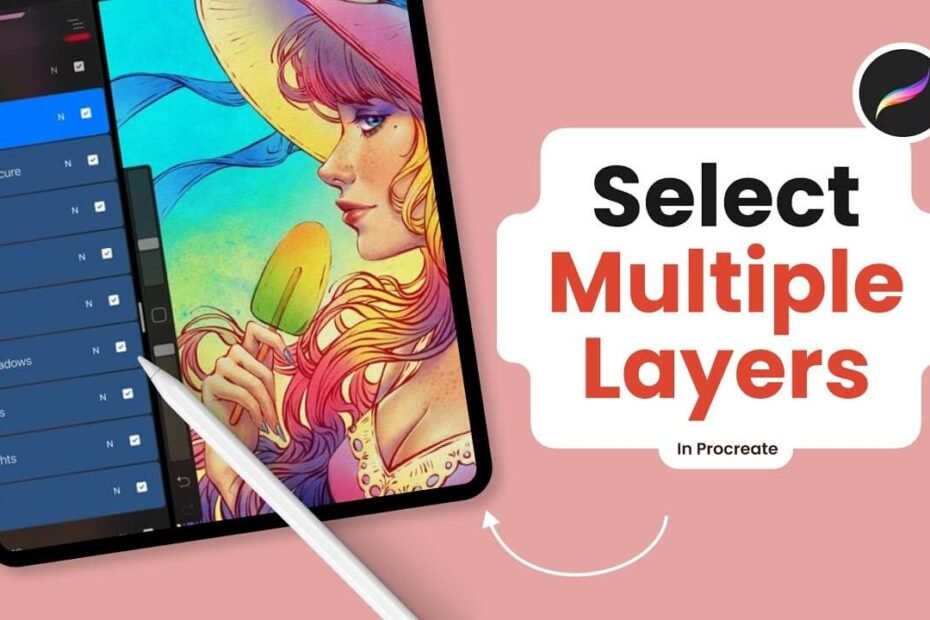
In short, you can select multiple layers within Procreate by moving them to the right using your finger or stylus. Every layer you drag is highlighted in blue, which indicates that it’s selected.
It’s the same procedure we discussed in our previous tutorial, where we discussed how to group layers within Procreate. Let’s do a quick demonstration.
How Many Layers Can You Select at A Time?
The amount of layers that can be found in the Procreate document is contingent on the dimensions of your document. Depending on the type of device that you’re working on and the resolution that you’re working at, the document may contain up to 400 layers.
So, of the 400, what several layers can you pick at once? This is probably higher than you’d think.
Although you are limited to having one primary layer in use at any moment, you can choose the number of Secondary layers you would like. This is ideal for people who work on large projects frequently. Are you looking to eliminate a significant portion of your work? There’s no problem!
How do I select multiple layers within Procreate?
The layers of Procreate allow different content elements and images to be layer and then stacked. It is possible to create drawings on one of the layers and, at the same time, use another layer to create another piece of artwork.
It is also possible to paint each layer separately when they overlap and then transfer them separately without altering the other. They’re separate works of art with no connection to one another.
The Layers feature allows you to operate on top of or behind every image layer and independently perform actions on all layers.
It is possible to create a new layer by pressing the + symbol on the Layers menu. Layers added in the current project have an orderly numbering system, such as Layers 1 and 2. Layer 3, etc.
More options can be added with a swipe left, including Lock, Duplicate, and Delete. When you click on the option’ Duplicate’ option, you can duplicate the layer and create the other. If you click Delete to delete, you can remove the selected layer. The lock feature lets you secure your chosen layer to preserve the contents. The content of locked layers will not alter.
Other layers that can be used are listed below.
- If you click on the rename button to rename an entire layer.
- Option Fill Layer layer option will fill every layer with an active colour.
- The Invert button changes the colour of the layer.
- You can alter the visibility of Layers by selecting the checkboxes.
- Merge down can combine the layers beneath the active layer to create one layer.
- Combining down could combine the active layer with the layer underneath to form a layer group.
Layer management is an integral element of working in Procreate for large-scale projects. Layers can be easily selected and moved around within groups to create an easier-to-use layer panel. However, it can be unclear when working with Layers due to the numerous sub-features and intricate details.
Work with multiple layers in Procreate.
Naturally, specific tools will be accessible when working with multiple layers. Drawings will be transferred to the primary layer, and the tools on the top left of the screen will modify all layers selected.
With the menu of adjustments represented by a magic wand, users can utilize liquify to adjust their art swiftly. Other options will be available.
It is also possible to use the selection tool, marked by a ribbon with an S shape, for making selections just as you would on one layer.
The colour fill option is not available. Copy and Paste will only copy from the primary layer.
As indicated by a cursor symbol, the move tool is handy when shifting multiple layers.
You can also group the layers to facilitate editing or delete them altogether. The options are available under the layers menu at the top of the screen.
How do I remove the contents of a Procreate Canvas?
If you’d like to erase your Procreate canvas and start another one, select “select” in your Procreate Gallery, select the file or canvas you’d like to erase, and then select “delete”.
Then, you can create a new canvas by pressing the + button in the window’s upper right-hand corner.