Are you a new Mac computer user? Are you interested in learning editing fundamentals and taking snapshots using your Mac?
If you’d like to capture a screenshot of the application you’re running but need to eliminate your menu bars or dock, you’ll have to know how to crop a screenshot using the Mac. There are many options to capture Mac screenshots, including the built-in options and paid-for and free options.
While a screenshot may appear an essential feature on computers, it has many potential uses. Although simple, screenshots have shady ethics, particularly regarding social media.
Whatever your reason for using pictures, you should master the art of using them efficiently. If you’ve shifted to a Windows PC, you’ll have to know how to edit screenshots on a Mac.
Screenshots are a reason why people take them.
Before we show you how to take and edit a screenshot using Mac, Let us start by discussing why people use screenshots. The primary function of a snapshot is to create images of diverse types of content. They are typically difficult to convert into PNG, JPG, and other image formats.
Many make screenshots of charts, graphs, and tables for their performance reports. With screenshots, you can add data quickly to your report without worrying about how it will appear in the information.
If you want to cut down the length of your emails by using images, you could add these images as images. This helps the reader take in your message faster.
How do you screenshot on Mac?
In Mac, a clipping tool known as Grab is integrated into the Mac OS. It lets you cut pictures of any window or screen. The Grab application has been changed to Screenshot within macOS Mojave. This isn’t the case with macOS Catalina. Shift, Command, and five other keys are required to launch it. In other instances, keyboard shortcuts could be employed to crop images.
A screenshot can be taken in many ways (or printing the image using a PC). We’ll go over the various crucial options of taking screenshots and how to make them more refined so that you can crop them to a specific size. We’ll also consider taking pictures of the things you want to photograph even if you aren’t able to interact via the computer screen.
How to crop a screenshot on a MacBook using online Tools
The techniques for using shortcuts and built-in apps are easy, but they cannot meet every user’s needs. Because Mac offers only the most essential tools to capture images, however, the absence of more advanced features can cause issues. In particular, you cannot modify the resolution of your image and the format of your vision, which is the primary reason you require an internet-based tool.
This online tool for screenshots is more flexible than the standard tools provided by Mac since it allows you to modify the settings. The online tool gives you choices such as device, platform resolution, browser and image format. It should be overlooked that this tool is only able to be used to take pictures of websites.
On Mac, Where do images get saved?
A screenshot taken on the Mac will be taken and saved on your computer by default. Depending on the version of Mojave you’re running, you could be able to select the location where your image is preserved.
You could lose your images if you take the pictures using an application such as Grab (available on earlier versions of macOS). If you do not alter your image’s name, Grab will save the image in the document folder.
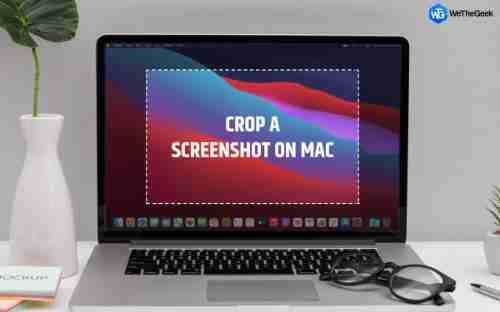
How to crop a screenshot on a Mac
After the Screenshot is taken, There are several ways to crop screenshots using macOS to change your image.
- Thumbnail Method
After taking the photo, you’ll see an icon for a thumbnail on the left-hand side of the file. Click on it to select the crop button.
Once you have entered this mode of cropping, you’ll be able to see a border on the image file. Drag any corner of the into the desired proportion. The white area you see on your screen will be the saved content.
Click anywhere in the display after you’re done. The cut-down image will be instantly saved to the Desktop.
- Preview
Open Mac’s Preview application, and navigate to the image file’s location to open the image within the Preview window.
Click “the “Show the Markup Toolbar” option.
If you can see the rectangular area on the screen, drag any corner to choose the proportion you want to use for the image. Choose the size you want to keep and then click”Crop” to save the area “Crop” option to edit the file.
The best editing tools to edit Screenshots of Macs
macOS The most recent versions of macOS offer the possibility of editing screenshots without needing to launch an application.
If you are using macOS Mojave or later, you’ll get a thumbnail image of the photo when you take it. After clicking on it, you’ll be in a position to edit the image with a method known as Quick Look, where you can draw, highlight, and add forms and text boxes and even include your signature.
macOS comes with a Preview application that lets you modify screenshots if you lose the thumbnail. The image can be opened using the Space bar on the Desktop, and you can edit it without opening the Preview application.
Conclusion
There are some options to crop your Screenshot on Mac using built-in tools, or third-party software, in the way you prefer. You can choose any of these methods to alter the image file and concentrate on the things that matter.
Please contact us via the comments section if you have any questions or need assistance.
GREAT POST