iOS 11 lets you save iPhone photos in HEIC instead of the commonly-used JPG. The advantage of HEIC images is that they are smaller than traditional JPG photos. HEIC formats offer more storage space for iPhone, iPad, and Mac users.
But it does have some limitations. One problem is that some photo apps only support HEIC files. Therefore, you will need to convert them into a standard format. With that in mind, we’ll show you how to convert HEIC photographs to JPG with your iPhone.
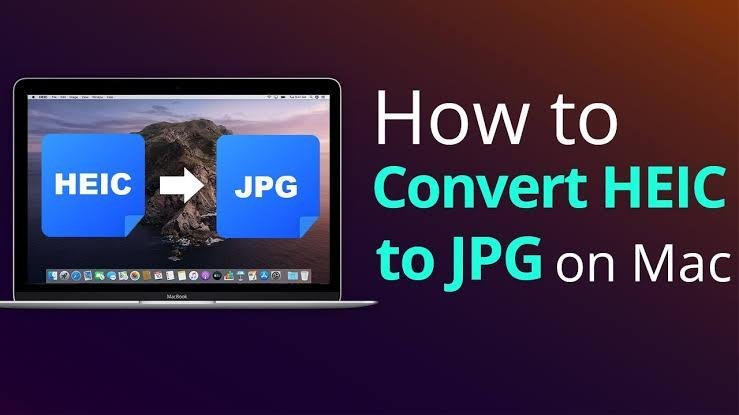
What are HEIC Images, and How Do They Work?
HEIC has its roots in High-Efficiency Image File Format (HEIF) developed by the Moving Picture Experts Group (MPEG) as an improvement on the dominant JPG format. MPEG claims HEIF images with similar quality to JPGs require half the storage space as HEIC. This result would be incredible if multiplied by the billions of JPG images.
While HEIC pictures have many advantages, their biggest problem to date has been their need for acceptance by popular software and operating system. Even if you don’t feel it in iOS, you can transfer a JPG HEIC photo to Mac. This will show you that many apps won’t display, edit, or accept it.
How to convert HEIC with Preview
The Preview app, built into Mac OS X, makes it easy to convert a HEIC or JPG File into a JPG.
Here’s how:
- Preview your HEIC image. If you need to batch-convert HEIC photos to JPG, you can open more than one.
- Choose File> Export in the top menu
- Select JPEG from the dropdown menu. The Quality slider can be used to adjust the compression level. The greater the quality, the larger the file size
- If you choose, rename the new File and use the Where dropdown menu for a file location. Click Save. You will now see a new JPG version.
Photos app can convert HEIC pictures to JPG.
Drag and drop HEIC images onto Photos
Drag the selected images to the Desktop or Finder window. The image will then be automatically converted into JPG.
Automator can convert HEIC from JPG to Mac.
Automator can now be launched on your Mac.
Click on Choose Quick Action to choose.
Double-click on (or drag) Copy Finder Items in the left menu
Double-click from the same menu and Change the Type Of Image.
Next, click the To Type tab. Choose JPEG.
Then, on the top right of your screen, click File – select save
Save the quick action tab to rename the action. Click Save.
Now, open the Photos or Finder app. Right-click on the image conversion and go to Quick Actions – tap the name you saved under Save quick actions.
(The converted image will be displayed on the desktop default.
How to Convert HEIC Into JPG Mac with the Photos app
The photos app, one of MacBook’s most widely used editing and viewing applications, is called “Photos.” The photos app offers two simple ways to convert HEIC pictures into JPG. Below are two ways to convert HEIC into JPG without paying for it.
All HEIC images can be converted to JPG format by simply dragging the photos onto your Mac’s Desktop.
Photos can be used to adjust the quality and color settings for HEIC images exported from Mac. These settings can be made by following the below instructions.
Step. 1- Choose a couple of HEIC pictures from the photos collection.
Step 2. Then click on File>Export > Export photos in the menu bar at the top.
Step 3→ Now, Check Photo Kind, and Other Quality Options like JPEG Quality, Colour Profile, and size.
Step 4. Tap on the Export button.
How to Convert Multiple HEICs To JPG On Mac with Photos
Photos, Mac’s pre-installed app, is an excellent option for converting HEIC to JPG. Although it’s primarily a picture viewing and editing application, images can also convert HEIC into JPG on Mac by exporting source HEIC files as JPG.
Notes. To convert iPhone photos to JPG, import iPhone images to the photo library within the app and then drag and drop the photos from Photos to your Desktop. This will convert your desktop photos to JPG automatically.
To convert HEIC into JPG in a batch:
Step 1. Launch the Photos app on your Mac.
Step 2. Go to “Photos” in the Library section.
Step 3. Select the photos you want to convert.
Step 4. Go to “File” > “Export” > “Export [number] Photos.”
Step 5. In export settings, choose “JPEG” as the target format and click “Export” to continue.
Step 6. Choose a folder to save the JPG files and click “Export” to start converting HEIC to JPG.
What is HEIC? Why do you need it converted to JPG format?
HEIC stands for High-Efficiency Image File. Apple introduced it in 2017. It has yet to be widely adopted, which limits its functionality. HEIC images can be challenging to work with, so converting them into a JPEG format is necessary.
Conclusion
These are the steps to convert HEIC to JPG for Mac. As you can see, there are many methods to convert HEIC to JPG on Mac. Syncios MobileManager is the perfect tool for anyone who wants to manage hundreds of photos. It’s easy to download and use!